How to take photos of the Northern Lights
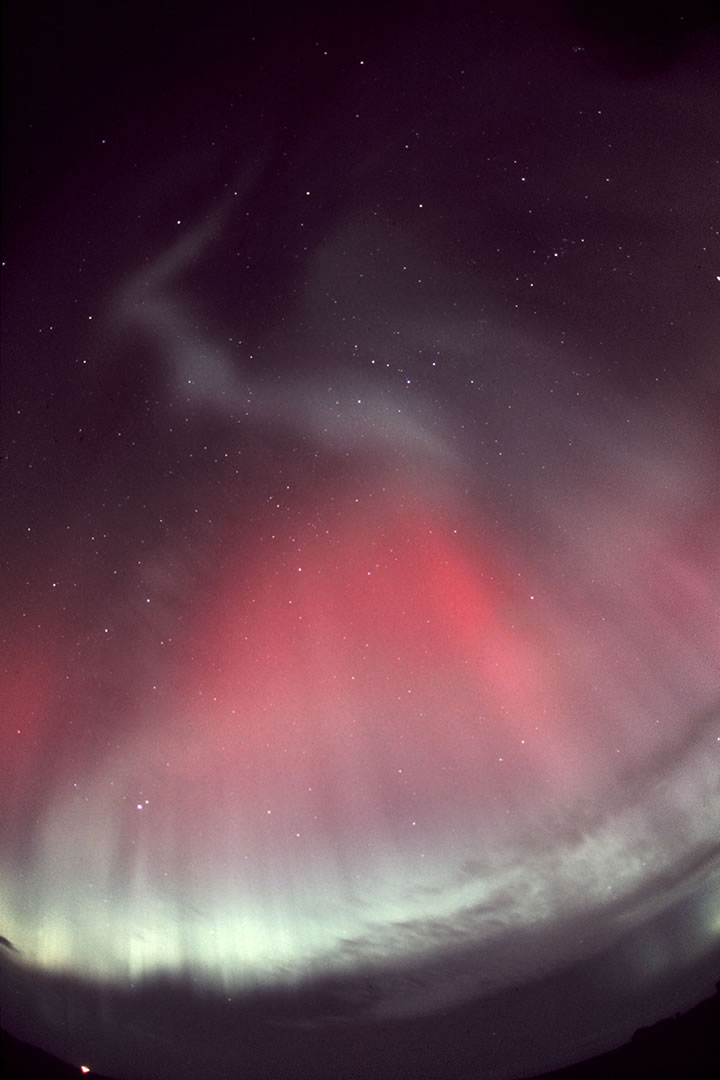
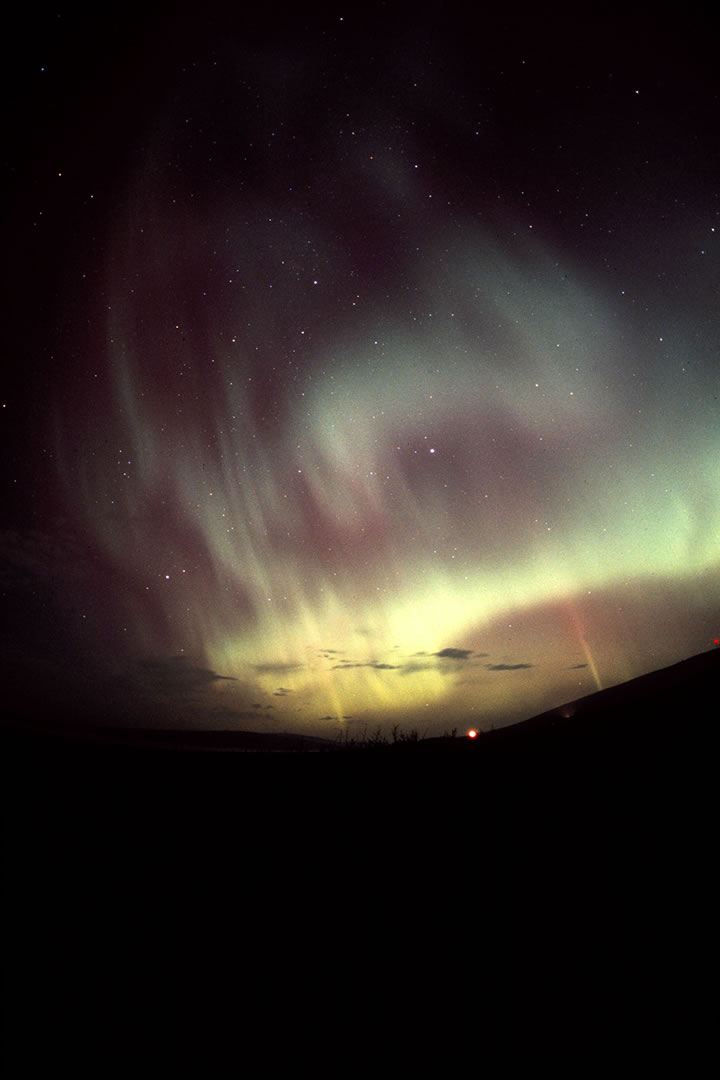
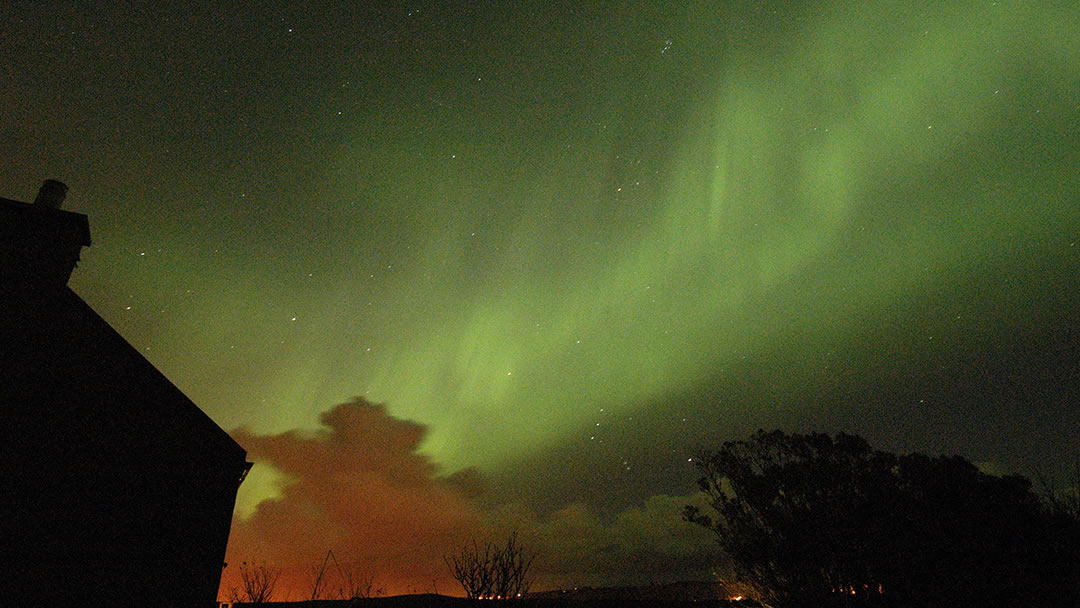
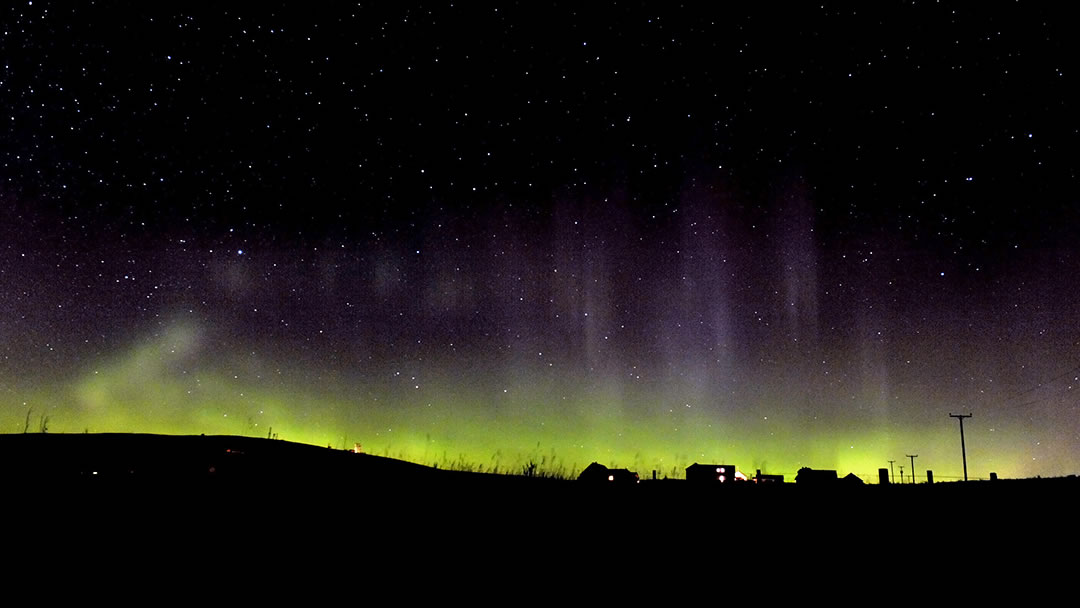
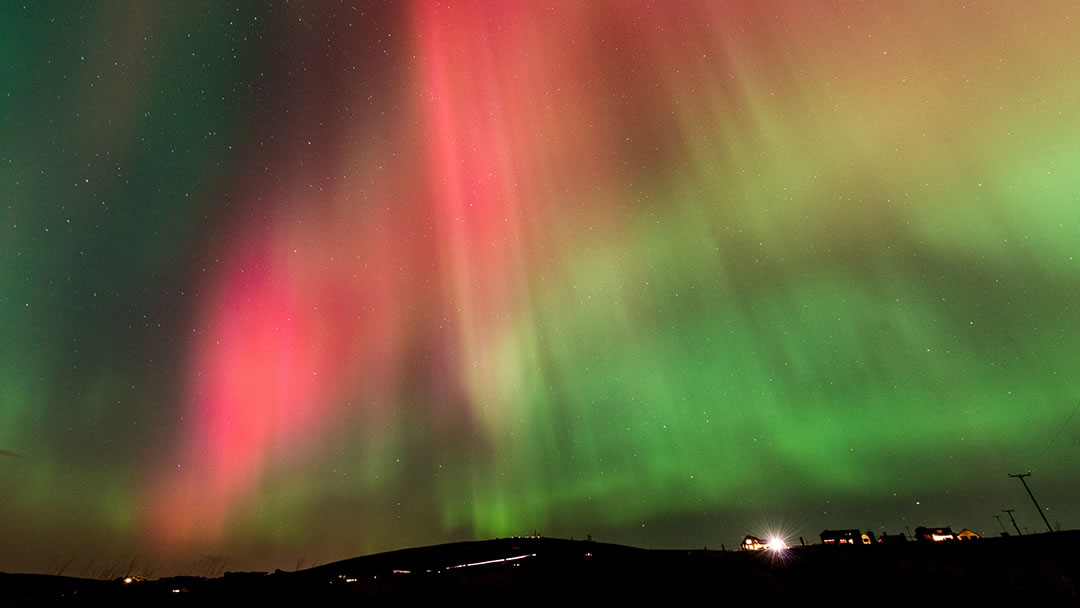
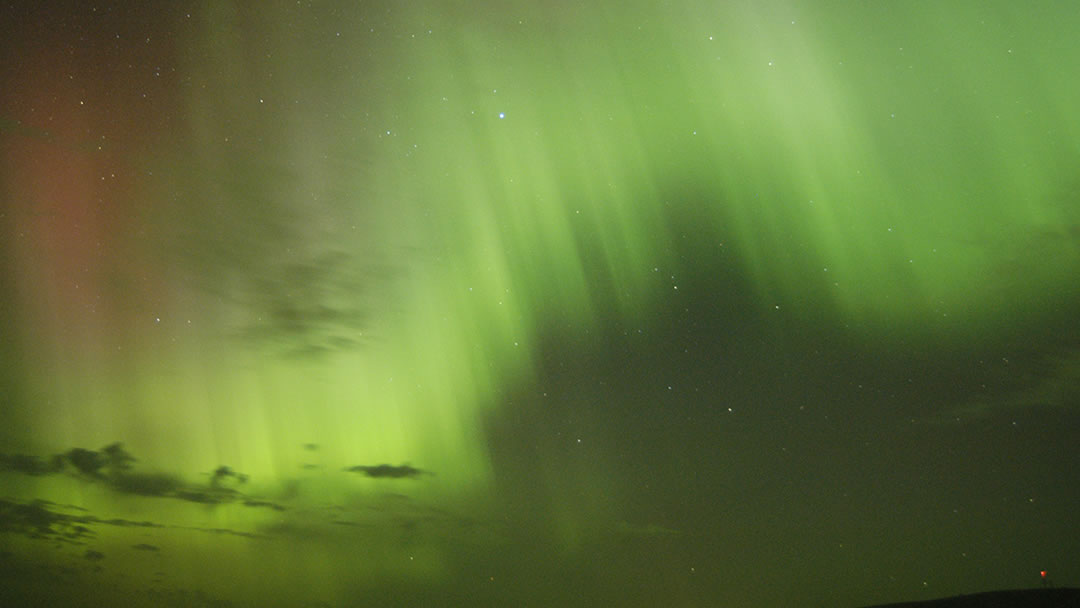
Visitors to Shetland in autumn and winter will hope to see the Northern Lights, known locally as the Mirrie Dancers. Those who get to see them will be enchanted by the curtains of green, yellow, blue and red light swaying and shifting in the night sky.
“So for a Northern Lights image, it’s best to switch your flash off, set the lens aperture to F4 or F2.8 and the ISO to 1600 or 3200.”
If you visit Shetland and wish to see the Northern Lights we’d recommend visiting http://www.spaceweather.com/ for forecasts and predictions. Facebook groups such as Aurora Shetland will also send out notifications if there is any Mirrie Dancer activity in the Northern Isles. The best conditions to see Aurora Borealis are on a cold, crisp and clear evening. For the clearest view, it is also best to see the Northern Lights in the countryside, away from streetlights, and not during a full moon.
If you’d like to take good photos of the Northern Lights, you may find that it is easier than you might think. We asked Orcadian photographer Charles Tait for some advice.

Use a tripod
The only way to take photos of the Northern Lights is to take a long exposure, and when you do this, any pictures taken from a hand held camera will appear blurred. Pop the camera on a tripod to take the best Northern Lights images.
Leave the camera on automatic exposure
Most modern cameras can be set on automatic exposure, and at night your camera will work out for you how to get as much light as possible into the lens. However, if you wish to use manual settings, set the lens aperture to F4 or F2.8; this will keep your lens as wide open as it can be. We would also recommend for those using manual settings that you set the shutter speed to 20 seconds. If the image looks too bright, set the shutter speed to 10 seconds and if the image looks too dark, increase the time.
Switch off automatic focus
When taking photos of the Northern Lights you’ll be taking an image of a dark sky. As a result you’ll need to switch off the automatic focus as the camera won’t know what to focus on! We would recommend focusing on a bright object some distance away, like a light in a house or the moon, and then switching to manual. Make sure you zoom out so that you get as much of the spectacular display as you can.
Turn your Flash off
Unfortunately your Flash will be a harsh light pollutant which will wash out the Mirrie Dancers in your pictures. As a result, it’s best to switch your flash off!
Set the ISO high; to 1600 or 3200
The ISO setting controls the light sensitivity of your ‘film’; the higher the ISO, the less light you need to ‘develop’ a picture. So for a Northern Lights image, set the ISO to 1600 or 3200. You may wish to experiment with these settings; as a high ISO can result in a grainy picture.
If your camera has long exposure noise reduction, use it
Though it tends to use up a lot of batteries, it is well worth having long exposure noise reduction switched on if it comes a night of good Northern Lights. This will vastly improve the photos your camera takes.
One final piece of advice is that, if you want to take photos of the Northern Lights with Standing Stones, or even a person in the foreground, you can shine a torch on the foreground object to light it up! As you will be taking a long exposure, the object and light from the torch will need to stay still during the exposure time. However this is much more controllable than using your camera’s flash and can result in some really interesting pictures.
For iphones or mobile phones
Use a tripod and hold your phone in landscape mode. Focus on a distant bright object, set to manual and switch off your flash. If possible select ISO 1600 or 3200 and set the Exposure to between 10 and 20 seconds. Within settings it may also be possible to select White Balance; select night mode / cloudy. Good luck!
Charles Tait is an Orcadian photographer and author. His Shetland Guide Book, Orkney Guide Book and North Coast 500 Guide Book are essential purchases for those wishing to visit the Northern Isles and North of Scotland. Visit www.charles-tait.co.uk for more information.
 By Magnus Dixon
Orkney and Shetland enthusiast, family man, loves walks, likes animals, terrible at sports, dire taste in music, adores audiobooks and films, eats a little too much for his own good.
Pin it!