A universal recipe for delicious jam
The general method for making jam is 1lb of sugar to 1lb of fruit which should work for any fruit. I have made this jam recipe with strawberries, raspberries, and rhubarb before and each time it worked. Perfect if you have lots of fruit in your garden, or punnets of fruit in your fridge that you won’t eat as this can be made with any weight of fruits you have available.
The general method for making jam is 1lb of sugar to 1lb of fruit which should work for any fruit. I have made this with strawberries, raspberries, and rhubarb before and each time it worked.
For this recipe, I made Rhubarb and Ginger jam which was my Granny Cursiter’s signature recipe when I was growing up, as it was my Grandad’s favourite. Each year she made 100lb of jam (about 45kg). It’s a super cheap recipe to make if you have access to rhubarb.
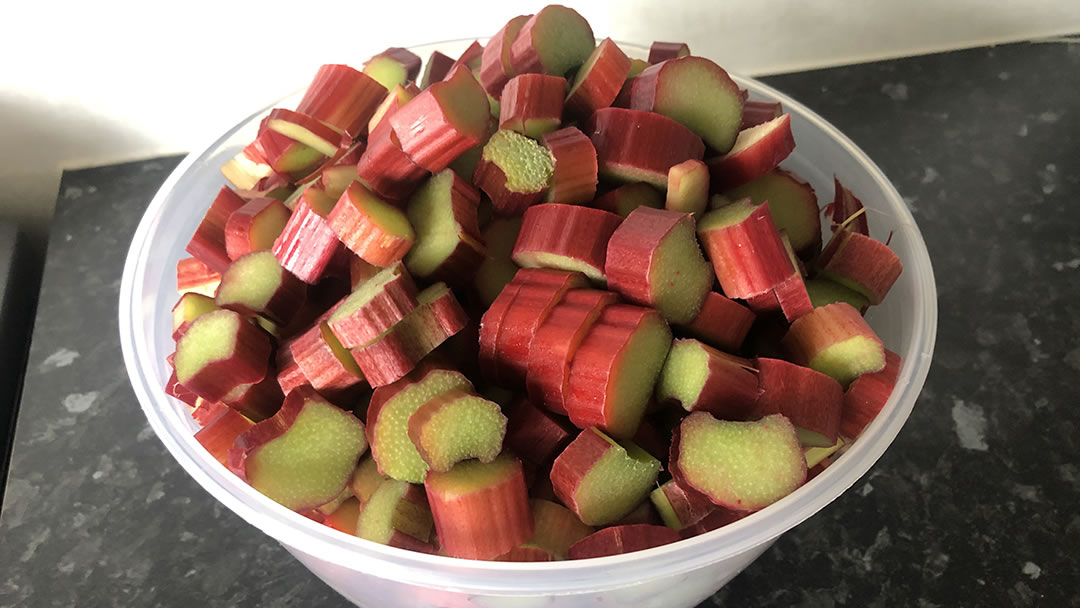
Ingredients:
For each 1lb of rhubarb, I add in
- 1lb of sugar
- 1 teaspoon of ground ginger
- 1 teaspoon of ground cloves
- Some chopped crystallised ginger – you can do this to your own taste.
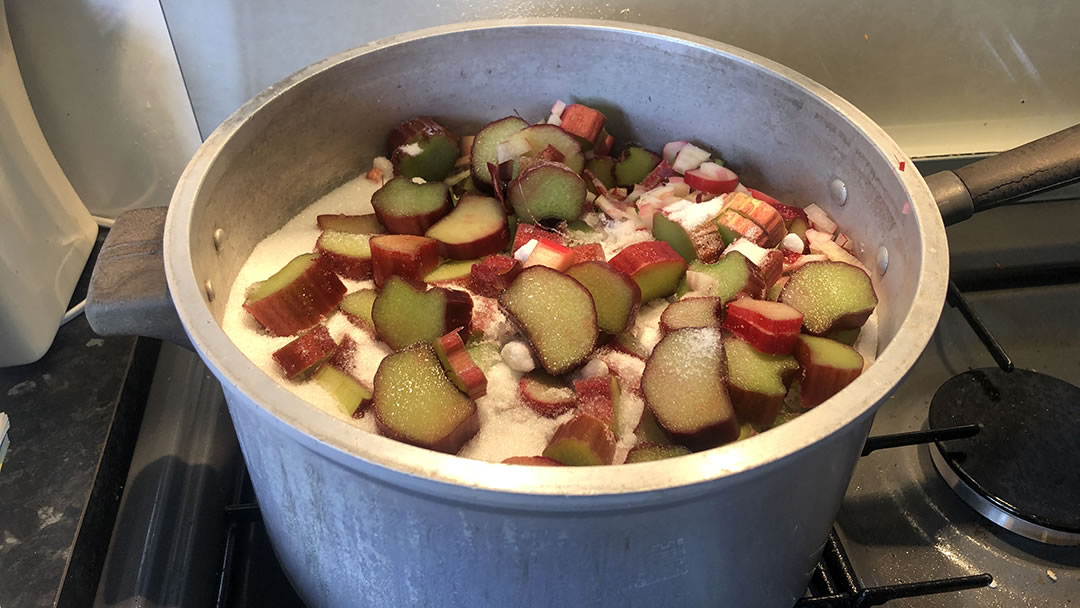
Method:
I had 5lb of rhubarb which took 3 hours to cook, and made 8 standard jam jar sizes.
- Wash the fruit
- Cut into about 1 inch chunks
- Put into a large pot and put the sugar on top.
- Cover and leave to stand for 24-48 hours to allow the sugar to dissolve.
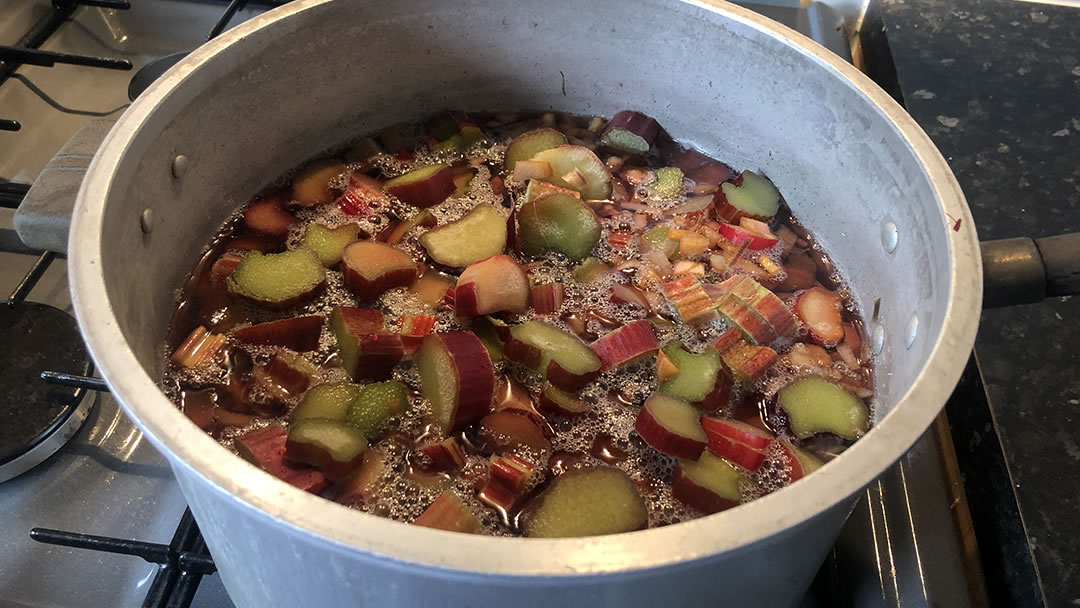
- The mixture should have reduced to a liquid. Stir this well before putting on the heat. It’s best to do the cooking during the day opposed to evening so there is plenty of time to cook and chill.
- Put a saucer or a side plate in the fridge to cool.
- Bring to the boil and boil gently, stirring occasionally but carefully to not break up the fruit too much, until you think the jam is set. Be very careful to not boil too rapidly as you don’t want the hot liquid to splash out of the pot and burn you.
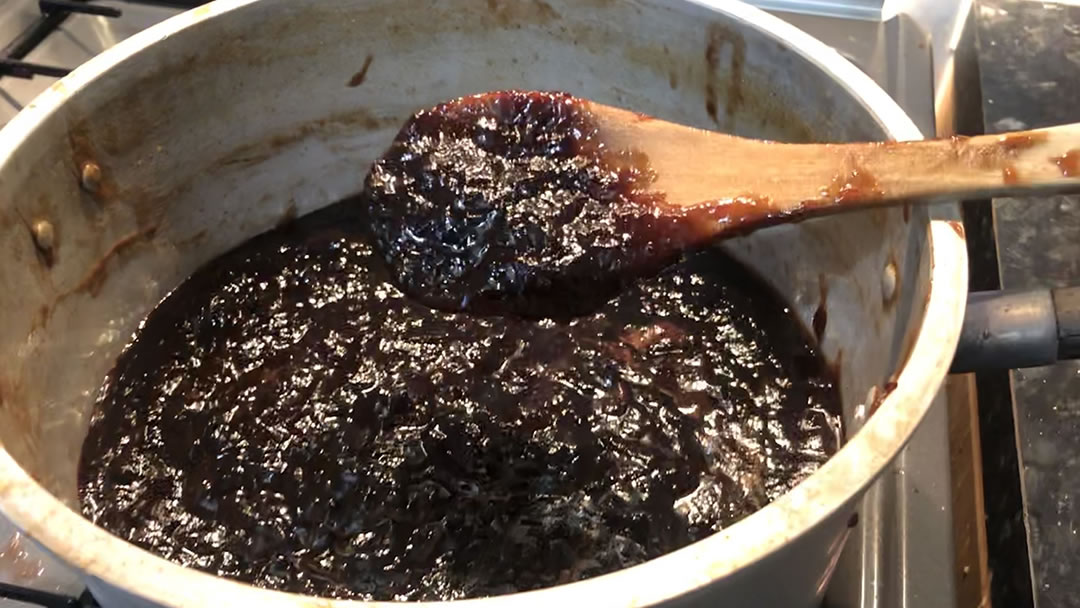
- Skim off any white ‘scum’ that appears on the top this will make for a nicer end product of jam.
- When you think the jam at setting point, take the plate out of the fridge and drop a little of the liquid onto the plate, leave in the fridge for about 5 minutes. Then with your finger push the liquid and if it wrinkles, it means the jam is set.
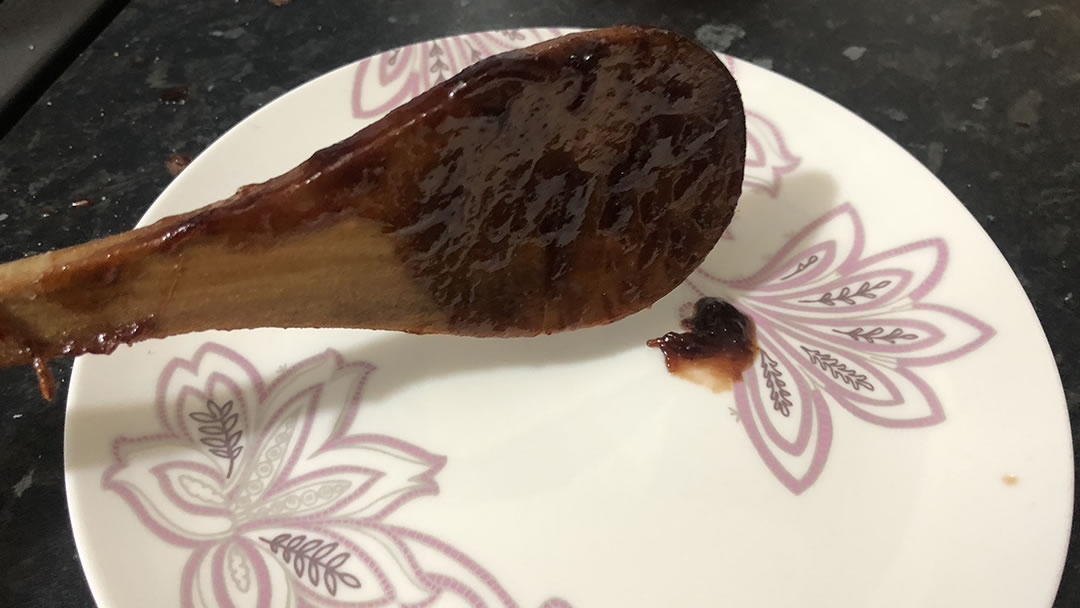
- Leave to cool a little, for about an hour, before putting into sterilised jam jars. Cover with a tea towel until cooled before putting on the lids.
Perfect to pair with our Drop scones recipe!
 By Cheryl Kelday
Orkney born and bred. Enjoys socialising from spending time in Shetland for events and catching up with friends; playing tenor drum in the Kirkwall City pipe band; cooking and baking for folk; or playing netball with her team mates in her spare time.
Pin it!
